There's a unique draw to lacing up your shoes and heading out onto the trails, especially when you start dreaming of covering longer distances. The sense of freedom, the changing scenery, the physical challenge – it's all incredibly rewarding. However, for those just starting out, or even seasoned road runners new to the varied terrain of trails, there's one persistent, unwelcome guest that can quickly derail an otherwise perfect long run: the blister. These small pockets of fluid can turn a joyous adventure into a painful slog, forcing you to slow down, adjust your gait, or even cut your run short. Learning how to effectively prevent blisters beginner trail running long distances is not just about comfort; it's about safeguarding your passion and ensuring you can truly embrace the journey.
- •Mastering the Fundamentals to Prevent Blisters Beginner Trail Running Long Distances
- ◦The Right Footwear: Your First Line of Defense Against Blisters
- ◦The Unsung Heroes: Your Socks
- ◦Foot Preparation and Protection: Beyond Shoes and Socks
- •Addressing Specific Blister Triggers on the Trail
- ◦The Impact of Moisture and Debris
- ◦The Role of Running Form and Biomechanics
- ◦Nutrition and Hydration: Indirect Blister Prevention
- •Training Your Feet and Mind for Long Distances
- •When a Blister Forms: On-Trail Management
- •Frequently Asked Questions About Blister Prevention
- ◦What is the single most important thing to prevent blisters beginner trail running long distances?
- ◦Can I use regular athletic tape for blister prevention, or do I need special tape?
- ◦How often should I replace my trail running shoes to prevent blisters?
- ◦Is it better to pop a blister or leave it alone during a long run?
The transition from pavement to trail introduces a whole new set of variables. Uneven surfaces, ascents and descents, mud, stream crossings, and debris all conspire to create friction points that your feet might not be accustomed to. What worked for a 10K on the road might utterly fail you on a 20-mile mountain trail. It's a learning curve, certainly, but one that can be navigated with the right preparation and understanding. This isn't just about throwing on any pair of socks; it's about a holistic approach to foot care, gear selection, and even how you train your feet to endure the demands of the trail.
Before you even step foot on a technical path, understanding the mechanics of blister formation is crucial. Blisters are essentially your body's protective response to repeated friction, pressure, or heat. The outer layer of skin separates from the layers beneath, and the space fills with fluid to cushion the damaged area. On a long trail run, especially for beginners whose feet might be softer or less conditioned, this friction can come from ill-fitting shoes, damp socks, debris inside the shoe, or even your own running mechanics. Addressing these root causes proactively is the cornerstone of any successful strategy to keep your feet happy for miles and miles.
Mastering the Fundamentals to Prevent Blisters Beginner Trail Running Long Distances
When you're just getting into trail running, especially with the ambition of tackling longer distances, the sheer volume of gear advice can be overwhelming. But for blister prevention, we can boil it down to a few critical areas: shoes, socks, and foot preparation. These three elements are intrinsically linked, and neglecting one can undermine the effectiveness of the others. It's not about finding a magic bullet; it's about a systematic approach that reduces the chances of friction and moisture build-up.
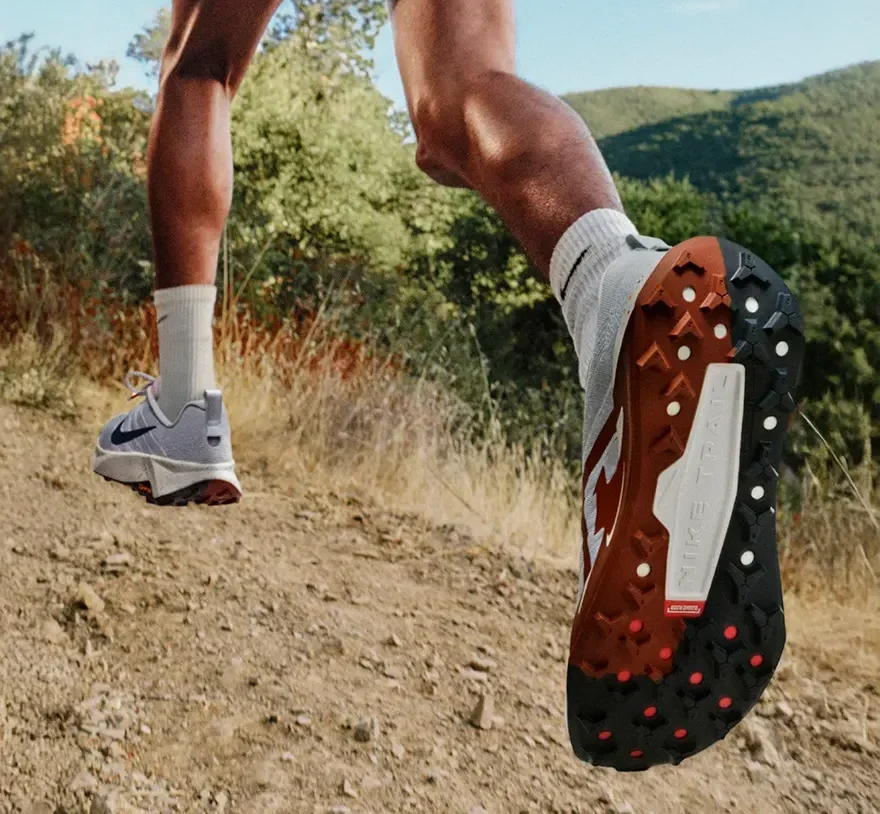
The Right Footwear: Your First Line of Defense Against Blisters
Choosing the correct trail running shoe is arguably the most important decision you'll make when it comes to preventing blisters. Unlike road shoes, trail shoes are designed to offer more protection, stability, and grip on varied terrain. However, "the right shoe" isn't a universal answer; it's deeply personal. What works for one runner might cause agony for another.
- Fit is Paramount: This cannot be stressed enough. Your trail shoes should fit snugly but not tightly. There should be about a thumb's width of space between your longest toe and the end of the shoe when you're standing. This allows for natural foot splay and prevents your toes from repeatedly jamming against the front of the shoe on downhills, a common cause of toe blisters and bruised nails. Conversely, shoes that are too loose allow your foot to slide around, creating friction. Try shoes on at the end of the day when your feet are slightly swollen, and always wear the type of socks you intend to run in. Walk around, go up and down stairs, and if possible, try them on an incline board at a specialty running store.
- Consider the Terrain: Are you running on smooth, packed dirt trails or highly technical, rocky, root-strewn paths? Lighter, less aggressive shoes might be fine for the former, while the latter demands more robust protection, a rock plate, and deeper lugs for grip. More protection often means a slightly stiffer shoe, which can sometimes alter your foot's natural movement, so it's a balance.
- Breathability vs. Waterproofing: This is a common dilemma. Waterproof (Gore-Tex) shoes keep water out, which sounds great for preventing blisters caused by wet feet. However, they also keep water (and sweat) in. On warmer days or during long efforts, your feet will sweat, and that moisture has nowhere to go, potentially leading to a swampy environment ripe for blisters. For long distances, many experienced trail runners prefer non-waterproof shoes, coupled with strategies to manage wet feet (like draining shoes or changing socks) if significant water crossings are expected. The breathability often outweighs the occasional wetness, as long as the shoes drain well.
- Break Them In: Never, ever wear brand new shoes for a long trail run. Break them in gradually over several shorter runs, allowing the materials to soften and your feet to adapt. This also gives you a chance to identify any hot spots before they become full-blown blisters.
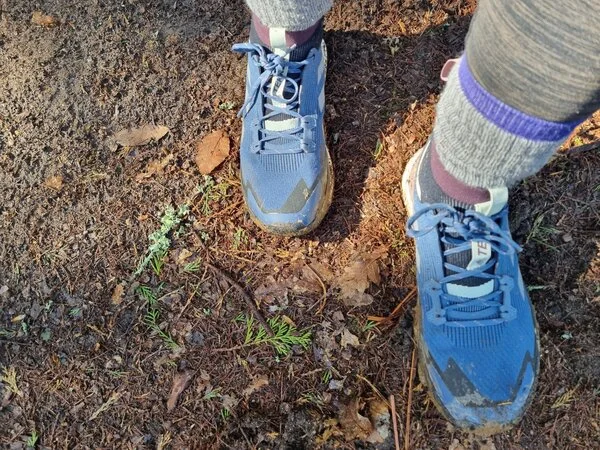
The Unsung Heroes: Your Socks
Socks are often an afterthought, but they play a monumental role in blister prevention. Cotton socks are the enemy of long-distance trail runners. They absorb moisture, stay wet, and create a perfect environment for friction and blisters. Here’s what to look for:
- Material Matters: Opt for synthetic materials like polyester, nylon, or acrylic, or natural fibers like merino wool. These materials are designed to wick moisture away from your skin, keeping your feet drier. Merino wool has the added benefit of being naturally antimicrobial and regulating temperature, making it excellent for both warm and cool conditions.
- Fit and Construction: Socks should fit snugly, without any bunching or excess material. Seams should be flat to prevent irritation. Some runners prefer crew-length socks for trail running to keep debris out, while others opt for shorter cuts. Experiment to find what you prefer.
- Double-Layer Socks: For some, double-layer socks are a game-changer. These socks are designed with two layers that rub against each other, rather than the sock rubbing against your skin. This internal friction absorbs the shear forces that would otherwise cause blisters. They can be a fantastic tool to prevent blisters beginner trail running long distances.
- Toe Socks: Another option is toe socks, which encase each toe individually. This prevents skin-on-skin friction between the toes, a common source of irritation, especially on long, sweaty runs.
- Carry Spares: For long runs, especially if stream crossings or rain are a possibility, always carry a fresh pair (or two) of socks in a waterproof bag. Changing into dry socks halfway through a run can feel like a miracle and significantly reduce your blister risk.
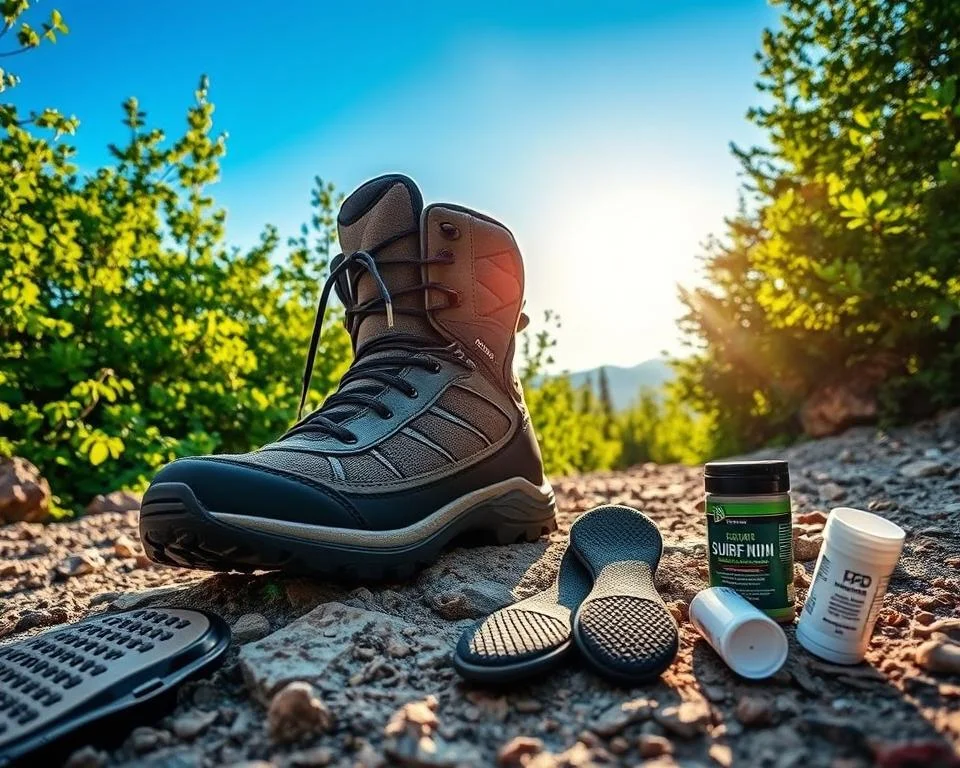
Foot Preparation and Protection: Beyond Shoes and Socks
While shoes and socks form the foundation, there are several other proactive steps you can take to safeguard your feet.
- Lube Up: Anti-chafing balms, petroleum jelly, or specialized foot lubricants (like Vaseline, BodyGlide, or Squirrel's Nut Butter) can create a barrier between your skin and your sock, reducing friction. Apply generously to known hot spots like heels, arches, and between toes before every long run. Reapply if you stop to change socks.
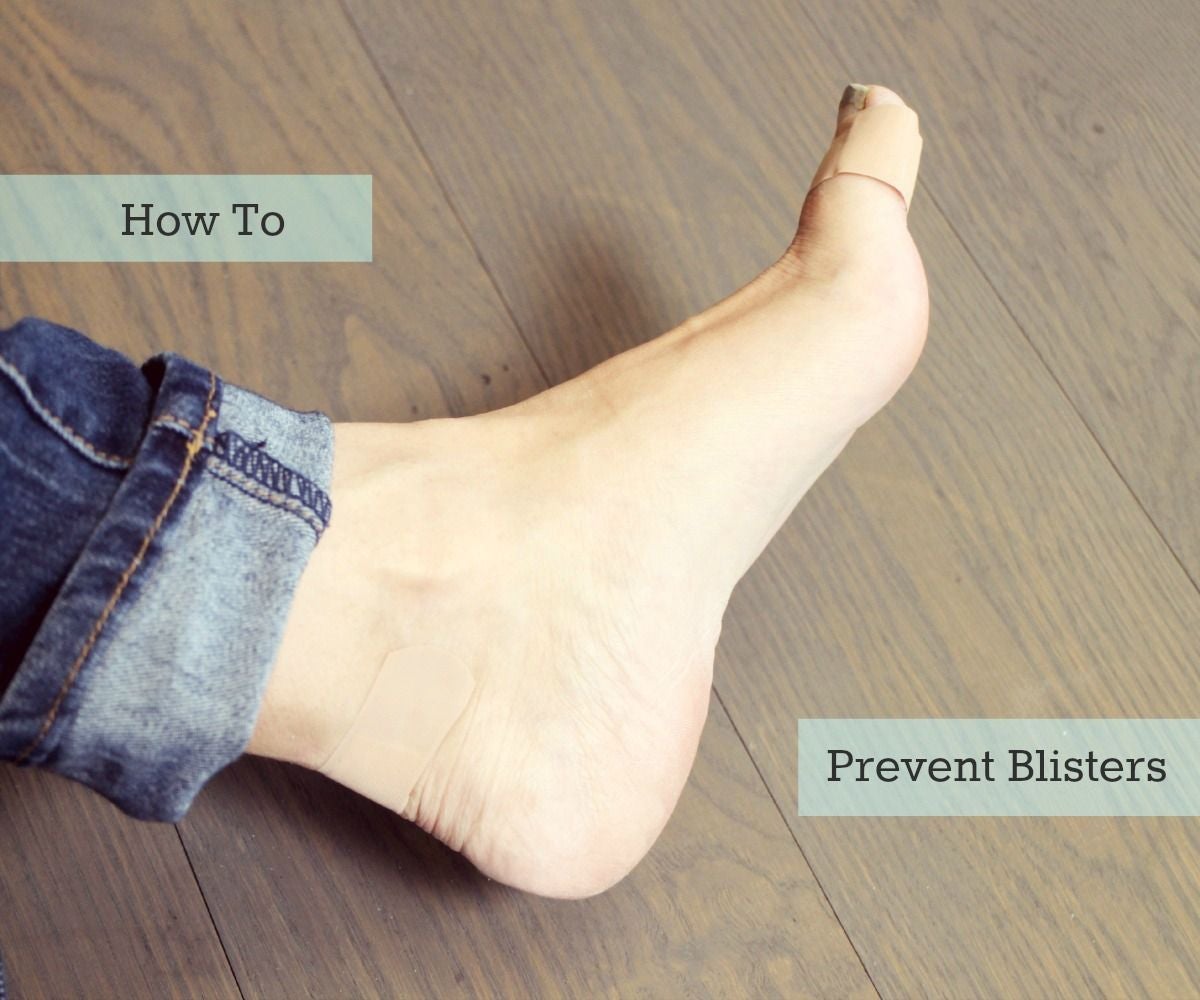
- Taping: If you have persistent hot spots or areas prone to blistering despite other precautions, strategic taping can be incredibly effective. Use athletic tape, Kinesiology tape, or specialized blister tape (like Leukotape P). Apply it smoothly to clean, dry skin, ensuring there are no wrinkles. Overlap strips slightly and make sure the tape extends beyond the area of friction. Taping can be a bit of an art form, so practice on shorter runs first.
- Trim Toenails: Long toenails can press against the front of your shoe, causing pain and even subungual hematomas (blood blisters under the nail), especially on downhills. Keep them trimmed short and filed smooth.
- Harden Your Feet (Gradually): While you don't want calluses that are so thick they crack, gradually exposing your feet to longer distances and varied terrain will naturally lead to some skin toughening. This is a slow process, part of your overall training, and shouldn't be rushed.
- Foot Hygiene: Keeping your feet clean and dry between runs is important. If you're prone to athlete's foot, address it promptly, as compromised skin is more susceptible to blisters.
Addressing Specific Blister Triggers on the Trail
Trail running introduces unique challenges that can exacerbate blister formation. Understanding these and having specific strategies can make all the difference.
The Impact of Moisture and Debris
Wet feet are happy blister factories. Whether it's sweat, rain, or stream crossings, moisture softens the skin, making it more vulnerable to friction. Debris, on the other hand, acts like sandpaper inside your shoe.
- Managing Wet Feet:
- Drainage: Many trail shoes have drainage ports. If your shoes get soaked, stop, empty them, and squeeze out your socks.
- Sock Changes: As mentioned, carrying spare socks is paramount. For very long runs, you might plan a sock change at an aid station or drop bag.
- Gaiters: These fabric covers fit over your shoe and lower ankle, preventing small stones, sand, and other debris from entering your shoe. This is particularly useful on dusty or gravelly trails.
- Waterproofing Sprays: While not a substitute for proper shoe choice, some runners use waterproofing sprays on their non-waterproof shoes to offer a little extra resistance to light splashes, without compromising too much on breathability.
- Dealing with Debris:
- Stop and Empty: If you feel a pebble or grit in your shoe, stop immediately. Do not try to run through it. A small piece of debris can cause a significant blister in a matter of minutes. Take off your shoe, shake it out, and inspect your sock and foot.
- Gaiters (Again): Seriously, gaiters are your friend on dusty or sandy trails. They keep most of the offending particles out.
The Role of Running Form and Biomechanics
While not always the primary cause, subtle issues with your running form can contribute to blister formation, especially over long distances. For a beginner trail runner, adapting to uneven terrain often means changes in foot strike and pressure points.
- Foot Strike: On trails, your foot strike will naturally vary more than on roads. However, excessively heavy heel striking can increase impact and friction. Focus on a lighter, more midfoot strike, which often feels more natural and stable on technical terrain.
- Cadence: A higher cadence (more steps per minute) can reduce the impact force per step and minimize the time your foot spends on the ground, potentially reducing friction.
- Descent Technique: Downhills are notorious for causing toe blisters as your foot slides forward. Practice a relaxed descent, leaning slightly forward from the ankles, taking shorter, quicker steps, and using your core and glutes to control the movement rather than braking heavily with your quads. This reduces the forward slide within the shoe.
- Lacing Techniques: Experiment with different lacing patterns. If you have heel slippage, a "heel lock" lacing technique can secure your ankle better. If you have pressure points on the top of your foot, skipping an eyelet can relieve pressure. A visit to a specialty running store can help you explore these options. Wikipedia has a good overview of lacing techniques that can help.
Nutrition and Hydration: Indirect Blister Prevention
While not a direct cause, poor nutrition and hydration can indirectly impact your body's ability to recover and maintain skin integrity. Dehydration can lead to dry, less elastic skin, potentially making it more susceptible to tearing and blistering. Ensure you are well-hydrated before, during, and after your runs, and maintain a balanced diet to support overall skin health and recovery.
Training Your Feet and Mind for Long Distances
Preventing blisters isn't just about gear; it's also about preparing your body and mind for the demands of long-distance trail running. This is especially true for beginners.
Gradual Adaptation: The Key to Resilience
Your feet, like the rest of your body, need time to adapt to new stresses. Jumping straight into a 20-mile trail run after only road running is a recipe for disaster, blisters included.
- Incremental Increase: Gradually increase your mileage and the technicality of the trails you run. Start with shorter trail runs, then slowly extend the distance, allowing your feet to toughen and adapt to the uneven surfaces.
- Back-to-Back Runs: Incorporate some back-to-back long runs into your training, simulating the fatigue your feet will experience on very long efforts. This helps identify potential hot spots under fatigued conditions.
- Listen to Your Feet: Pay attention to any "hot spots" – areas of warmth, redness, or tenderness – during and after your runs. These are early warning signs that a blister is forming. Address them immediately with tape or balm on subsequent runs.
Post-Run Foot Care
Your care routine doesn't end when you take off your shoes. Proper post-run foot care is essential for recovery and ongoing blister prevention.
- Inspect Your Feet: After every run, especially long ones, thoroughly inspect your feet for any red areas, chafing, or developing blisters. This helps you understand where your problem areas are.
- Clean and Dry: Wash your feet thoroughly and dry them completely, paying special attention to between the toes.
- Moisturize: While you want tough skin, you don't want dry, cracked skin. Use a good foot cream or moisturizer regularly to keep your skin supple and prevent cracking, which can also lead to issues.
- Air Them Out: Let your feet breathe. Avoid wearing tight shoes or socks for extended periods after a run.
When a Blister Forms: On-Trail Management
Despite all your best efforts, sometimes a blister will still form. Knowing how to manage it on the trail can prevent it from worsening and allow you to continue your run safely.
- Stop Immediately: The moment you feel a hot spot or a developing blister, stop. Do not try to run through the pain.
- Assess the Situation:
- Small, Intact Blister: If it's small and not painful, you might just cover it with a protective dressing (like moleskin or a hydrocolloid bandage) and continue carefully. The goal is to reduce further friction.
- Large, Painful, or Broken Blister: If it's large, causing significant pain, or has already popped, it often needs more attention.
- Clean and Dress:
- Clean: If the blister is broken, clean the area gently with an antiseptic wipe or clean water.
- Drain (Carefully): For a large, painful, intact blister that will impede your running, you might consider draining it. Use a sterile needle (from a first-aid kit, or sterilized with alcohol or flame). Puncture the blister at its base, near the edge, and gently press out the fluid. Do not remove the skin flap; it acts as a natural bandage.
- Dress: Apply an antiseptic ointment (if available) and cover with a sterile dressing. Hydrocolloid bandages (like Compeed) are excellent for blisters as they cushion, protect, and promote healing. Moleskin can also provide good cushioning. Secure the dressing firmly with athletic tape to prevent it from moving.
- Adjust: After dressing, adjust your lacing, reapply balm, or change socks if necessary. The aim is to remove the source of friction that caused the blister in the first place.
Carrying a small, well-stocked blister kit is non-negotiable for long trail runs. Include antiseptic wipes, sterile needles, various sizes of bandages (including hydrocolloid), moleskin, and athletic tape. Being prepared can save your run and prevent a minor irritation from becoming a major problem.
Ultimately, to truly prevent blisters beginner trail running long distances, it’s about patience and observation. Each long run is a chance to learn more about your feet, your gear, and how they interact with the trail. What works for a friend might not work for you, and that’s perfectly okay. The journey to blister-free long-distance trail running is a personal one, built on experimentation, attention to detail, and a willingness to adapt.
The Importance of a Consistent Routine to Prevent Blisters Beginner Trail Running Long Distances
Consistency in your pre-run and post-run routine is just as vital as your gear choices. It's not enough to just apply balm occasionally or only think about your socks on race day. To effectively prevent blisters beginner trail running long distances, you need to embed these practices into every long run preparation. This means checking your toenails regularly, ensuring your shoes are still in good condition and not breaking down in ways that cause new friction points, and always having your go-to blister prevention items readily available. Over time, these habits become second nature, and the fear of blisters recedes, allowing you to focus entirely on the beauty and challenge of the trail ahead. This routine also includes monitoring your feet for any early signs of trouble, such as persistent redness or tenderness after shorter runs, which can indicate an area that needs more attention before you tackle those significant distances.
Frequently Asked Questions About Blister Prevention
What is the single most important thing to prevent blisters beginner trail running long distances?
The single most important factor is the fit of your shoes combined with appropriate, moisture-wicking socks. Ill-fitting shoes (too loose or too tight) and cotton socks are the primary culprits for almost all trail running blisters.
Can I use regular athletic tape for blister prevention, or do I need special tape?
While specialized blister tapes (like Leukotape P or Kinesiology tape) are excellent, regular athletic tape can certainly work. The key is to apply it smoothly to clean, dry skin without wrinkles, ensuring it covers the hot spot and extends slightly beyond to prevent peeling.
How often should I replace my trail running shoes to prevent blisters?
Trail running shoes generally last between 300 to 500 miles, but this can vary based on terrain, your weight, and running style. Pay attention to signs of wear, such as loss of cushioning, worn-down lugs, or areas where the upper material is breaking down, as these can create new friction points and increase your risk of blisters.
Is it better to pop a blister or leave it alone during a long run?
If a blister is small, intact, and not causing significant pain, it's generally best to leave it alone and protect it with a bandage. However, if it's large, painful, or in a high-pressure area where it's likely to pop on its own and become more susceptible to infection, carefully draining it with a sterile needle and then dressing it is often the better option to allow you to continue your run.
Trail running is a truly enriching experience. The challenges are many, but the rewards are profound. While blisters might seem like a minor annoyance, they have the power to undermine your confidence and enjoyment. By understanding the causes, meticulously preparing your feet and gear, and learning to listen to your body, you can dramatically reduce your chances of encountering these unwelcome interruptions.
Focus on the details – the right shoe, the perfect sock, a touch of balm – and you'll be well on your way to enjoying mile after glorious mile on the trails, free from the sting of blisters. It's about building resilience, one careful step at a time, ensuring that your long runs are remembered for the views, the effort, and the sheer joy of movement, rather than for painful feet.